
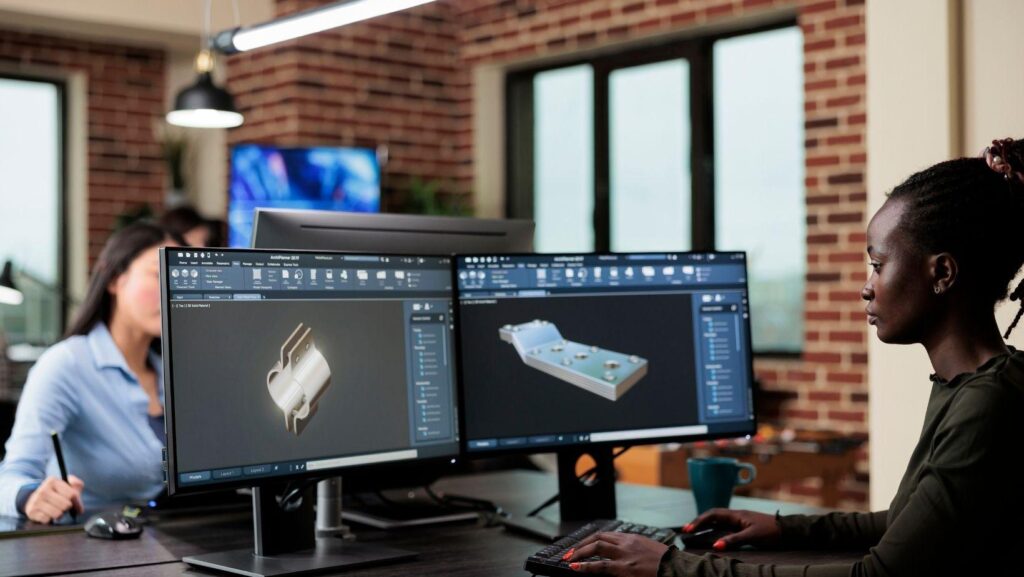
A custom 3D asset is ready for game-engine testing when its scale, geometry, normals, materials, pivot, orientation and file structure have all been checked. A model that looks correct in a modelling application can still enter an engine at the wrong size, lose its textures, rotate around an unexpected point or use more geometry than the game can reasonably support.
The safest approach is to inspect the asset before importing it, then test it again under actual gameplay conditions. The following process helps modders and game developers catch common problems before they spread into animation, collision, lighting and level design.
Define the Asset’s Job and Budget
Before inspecting individual polygons, decide what the model is supposed to do.
A background building viewed from a distance has different requirements from a weapon held close to the camera. A static prop does not need the same deformation-friendly topology as an animated character. An object appearing once in a level may receive a larger performance budget than one repeated hundreds of times.
Start by recording:
- The closest expected camera distance
- Whether the asset moves or deforms
- How many copies may appear at once
- Whether players can interact with it
- Its target platform and performance budget
- The required engine and file format
Without this context, “too detailed” and “game-ready” have little meaning. A model should be judged against its role, not against a universal polygon limit.
Confirm Scale and Coordinate Settings
Incorrect scale is one of the fastest ways to make an otherwise usable model feel wrong.
Check the measurement units used by both the source application and the destination engine. Compare the asset with a known reference, such as a standard character, doorway or one-metre cube. Do not rely entirely on how large the model appears in an isolated viewport.
Orientation matters too. Different applications may use different axes for “up” and “forward.” If these settings are not handled correctly, a vehicle may import on its side or a character may face away from its intended direction.
Apply or freeze scale and rotation where the workflow requires it. Unapplied transformations can later affect animation, physics, child objects and procedural systems.
AI 3D generators such as Meshy AI give modders and small teams a fast way to produce individual game props — a crate, a weapon, a decorative prop — from a text prompt or a reference image. Like assets built manually or supplied by an external artist, generated models arrive with their own unit and axis conventions, so they go through the same scale and orientation checks before entering the engine.
Inspect Geometry Where It Matters
A high polygon count is not automatically bad, and a low count is not automatically efficient. What matters is whether the geometry contributes to the visible shape, deformation or shading.
Look for:
- Details modelled into areas players will never see
- Faces hidden permanently inside the object
- Duplicate or overlapping geometry
- Extremely thin or stretched polygons
- Unnecessary edge loops on rigid surfaces
- Small parts that would be clearer in a texture or normal map
- Separate objects that could be combined without limiting use
The silhouette deserves most of the available geometry because it remains visible at a distance. Flat surfaces usually need less density unless they deform or require additional vertices for another technical purpose.
Do not optimise blindly. Removing loops from an animated joint, curved silhouette or frequently viewed surface can create more problems than it solves.
Check Topology and Normals
Dark patches, disappearing surfaces and unexpected seams often point to geometry or normal problems rather than bad textures.
First, check whether face normals point outward. Backface culling can make reversed faces invisible from one side. Then look for non-manifold geometry, open edges, internal faces and vertices that occupy the same position without being connected.
Smoothing should also be reviewed. Hard edges are useful where the surface changes direction sharply, while smooth shading helps curved forms appear continuous. Incorrect smoothing can make a simple object look dented or cause a hard mechanical edge to appear melted.
If the asset will be animated, examine edge flow around joints and other deforming areas. A model can look perfect in a neutral pose but collapse when an elbow bends or a jaw opens.
Verify UVs, Textures and Materials
A model may arrive in the engine while its visual identity remains behind.
Confirm that UV islands stay inside the intended UV space unless the project deliberately uses another system. Check for unwanted overlap, insufficient padding and inconsistent texel density. A tiny object should not consume more texture space than a much larger nearby asset without a clear reason.
Texture files should use names and formats that the project can manage consistently. Confirm that all required maps are present and connected correctly:
- Base colour or albedo
- Normal
- Roughness
- Metallic
- Ambient occlusion, when required
- Opacity or emissive maps, when used
Material complexity also affects performance. A model split across many materials can require more draw calls than a similar asset using a smaller, organised material set. The correct choice depends on the engine and project, but unnecessary material slots should be removed.
Set the Pivot for Its Actual Behaviour
The pivot determines where an object moves, rotates and scales. Its placement should reflect the asset’s intended behaviour.
A door normally rotates around its hinges. A wheel turns around its centre. A handheld object needs a position that supports attachment and animation. A modular wall piece may require its pivot at a corner so it snaps cleanly to a grid.
Poor pivot placement may not be obvious in a static preview. It becomes immediately visible when designers attempt to place, animate or duplicate the object.
Check the local axes at the same time. Consistent forward and upward directions make scripts, sockets, animation and modular assembly easier to manage.
Prepare Collision Separately
Detailed render geometry rarely makes ideal collision geometry.
Complex collision can increase physics cost and cause characters or projectiles to catch on tiny surface details. In many cases, a simple box, capsule or convex shape provides more predictable behaviour. Larger or irregular assets may need several simple collision volumes.
Collision should represent how the object functions, not every visible indentation. A decorative handle may not need collision at all. A doorway, platform edge or cover object, however, must align closely enough with the visible model that players do not hit invisible barriers or fall through apparent surfaces.
Test collision by approaching the asset from different directions and at different speeds. Problems that are invisible during editing often appear through player movement.
Preview the Exported File Before Opening the Engine
Do not assume that a successful export means the file contains everything expected.
Open the exported version rather than only reviewing the original scene. Meshy’s online 3D viewer is a free browser tool that opens and displays a 3D file without installing software, giving a fast first inspection before the model reaches the game engine.

This step is particularly useful when files move between artists, devices or applications. It separates export problems from engine-import problems. If the exported file already appears incorrect, changing engine settings is unlikely to solve the underlying issue.
A viewer does not replace full technical inspection, but it can reveal obvious failures without loading an entire project.
Diagnose Common Import Problems
|
What you see |
Likely cause |
What to check first |
|
Model is extremely large or small |
Unit mismatch or unapplied scale |
Source units and transform values |
|
Model lies on its side |
Different up-axis settings |
Export orientation |
|
Parts of the surface disappear |
Reversed normals or backface culling |
Face orientation |
|
Surface looks dented |
Incorrect smoothing or normals |
Hard edges and normal settings |
|
Textures are missing |
Broken file paths or unsupported setup |
Texture files and material connections |
|
Object rotates strangely |
Incorrect pivot or local axes |
Origin and transform |
|
Performance drops when duplicated |
Excess geometry, materials or collision |
Polygon count, material slots and colliders |
|
Character bends badly |
Unsuitable topology or skin weights |
Edge flow, rig and weight painting |
Fix problems in the source file whenever possible. Repeatedly compensating with special engine settings creates an inconsistent pipeline and makes future updates harder.
Test in the Real Gameplay Context
Technical correctness is only the beginning. The final check must happen inside the game.
View the asset through the intended camera and lighting. Test the nearest and farthest expected viewing distances. Place several copies if the model will be repeated. Trigger its animation, physics and interaction. Monitor frame time, memory use and draw calls using the engine’s profiling tools.
Also ask whether the asset communicates clearly. Can players recognise it at gameplay distance? Does an interactive object look interactive? Does the model block visibility or movement? Is its detail appropriate beside surrounding assets?
A technically valid model can still be unsuitable for the game if it disrupts visual consistency or gameplay readability.
Quick Answers Before Import
Does every game asset need to be low-poly?
No. It needs an appropriate level of detail for its camera distance, frequency, platform and role. Efficient geometry is more important than chasing an arbitrary number.
Can a generated model go directly into a game?
It should be inspected first. Scale, topology, UVs, materials, collision and performance may need adjustment before engine use.
Should textures be embedded in the model file?
That depends on the selected format and pipeline. The important point is to confirm that textures are packaged, referenced and imported consistently.
Is a successful engine import enough?
No. The asset still needs gameplay-camera, lighting, collision and performance testing.
Final Pre-Import Sequence
Use this order before approving the asset:
- Confirm its gameplay purpose and budget.
- Check scale, units, orientation and transforms.
- Inspect geometry, topology and normals.
- Review UVs, textures and material slots.
- Set the pivot and local axes.
- Create appropriate collision.
- Export and inspect the exported file.
- Import it into a test scene.
- Test appearance, interaction and performance in context.
A clean import is not the result of one perfect export setting. It comes from checking the asset as a complete technical package. Finding a reversed normal or incorrect pivot early takes minutes; finding it after animation, level placement and duplication can affect an entire production pipeline.